Amish Friendship Bread
Home »
Amish Friendship Bread Starter Recipe
This post may contain affiliate links which won’t change your price but will share some commission.
Use this Amish Friendship Bread Starter Recipe as a base for many sweet breads, dinner rolls, muffins and other baked goods. Hints for storing and using up the sourdough starter.
Download the Amish Friendship Bread Starter instructions here.
Have I got a treat for you today! Classic Amish Friendship Bread Starter Recipe. Have you ever tried this sweet sourdough?
It’s one of those recipes that people seem to either love or hate. On one hand, you make a sweet sourdough that you have to keep dividing and using up, or passing out to your friends….or throw away. If you keep the starter going, it just…well…keeps going.
On the other hand, you make a sweet sourdough that is versatile and makes an amazing cinnamon quick bread. Quick bread that is so addicting that you can eat 6 loaves in a matter of 3 days.
Yeah….just please don’t ask. 🙂
Whether you make it this bread weekly, haven’t seen it in years, or are completely new to Amish Friendship Bread, my goal is to convince you to at least give easy sourdough recipe a try. I’m going to make it easy for you with hints! The recipe for the bread itself is coming soon, but first you need the starter.
How to Make Amish Friendship Bread Starter:
- Have Ziploc plastic bags (for easily storing the starter), glass bowls and wooden spoons on hand. For sourdough, you don’t want to use metal bowls or utensils. Sourdough is acidic and can dissolve some metals. It’s best to use anything but metal bowls and utensils.
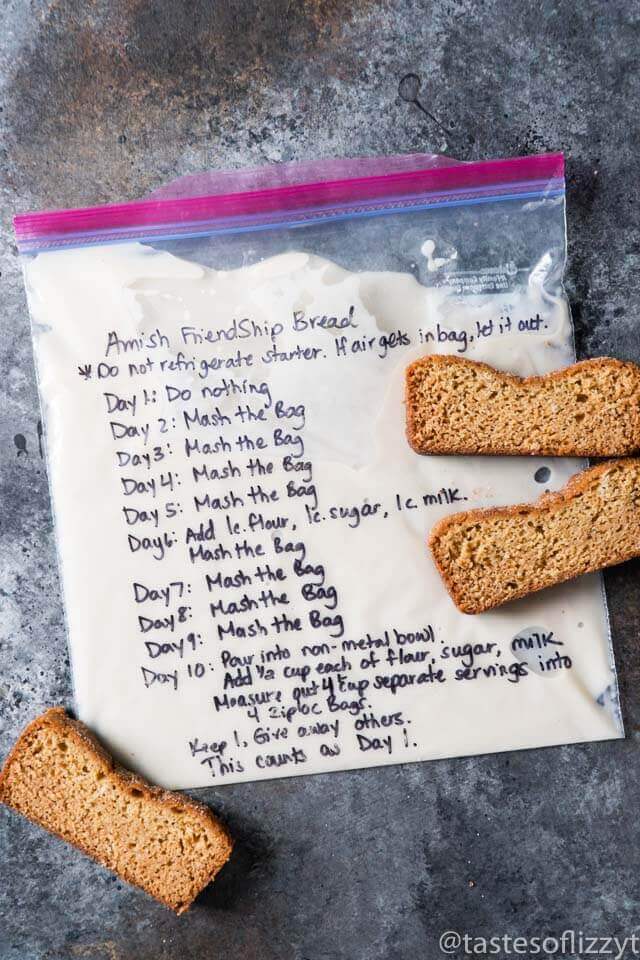
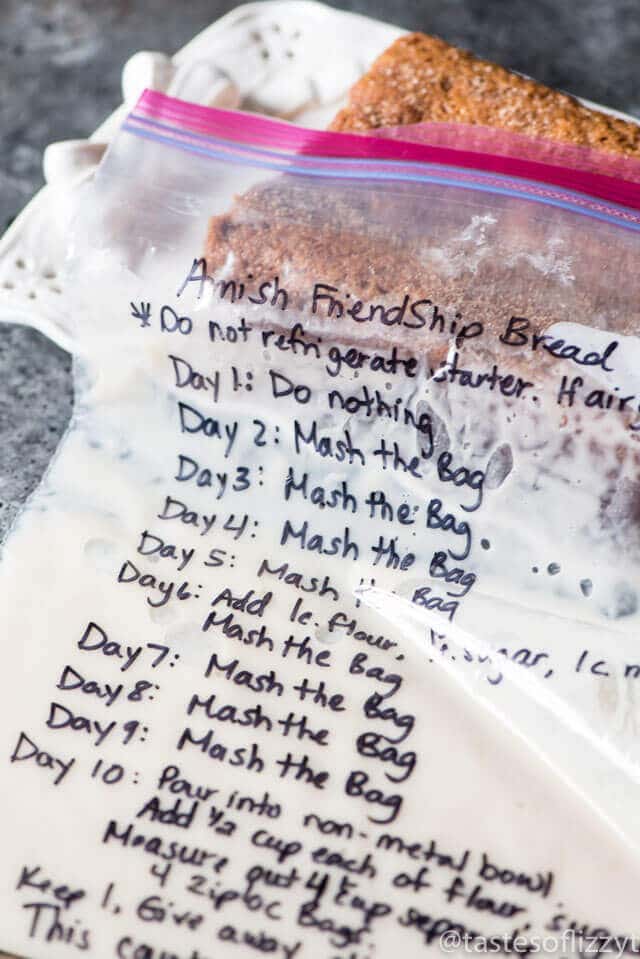
- Write the directions right on the Ziploc bags using a permanent marker so you never have to go hunting for the directions.
- Make the starter recipe, then pour it into a Ziploc bag (with the directions written on it). You can also store this in a loosely covered glass bowl if you’d like. I just find it easier to use a Ziploc bag.
- While you are working your way through the 10-day process, store the starter at room temperature. If the Ziploc bag gets air in it, simply let it out.
- How much sourdough you end up with at the end of the 10 day process depends on how active your sourdough is. You’ll end up with about 5-6 cups.
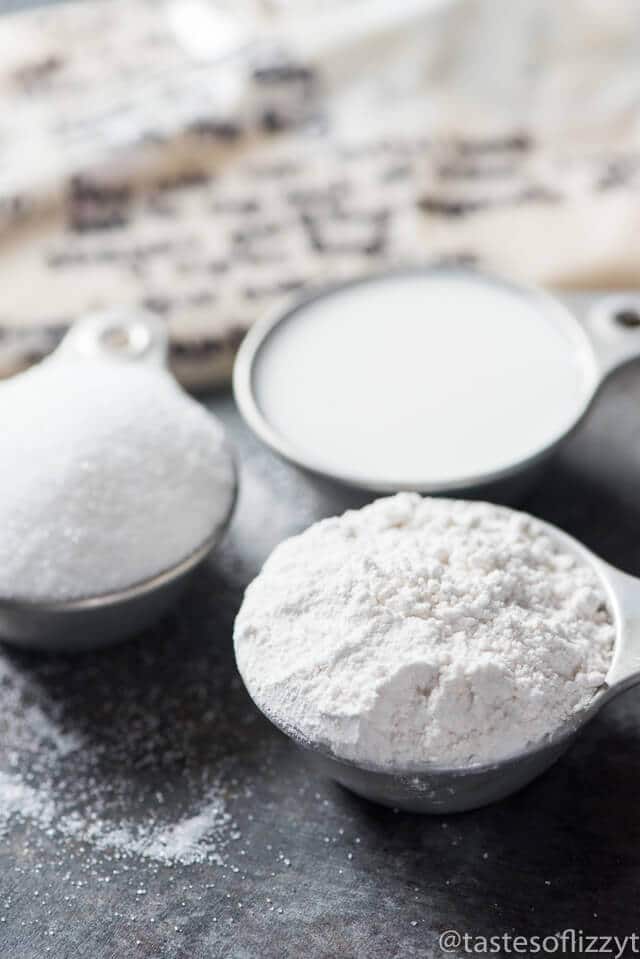
- On Day 10 after you add last bit of flour, sugar and milk, separate out 1-cup portions into Ziploc bags (don’t forget those directions on the front!).
- At this point, you can give away some of those starter bags to friends along with the recipe and instructions so they can indulge in their own friendship bread.
- Keep a starter for yourself to continue the sourdough process (Day 10 is equal to Day 1), and make the Amish Friendship Bread with one of the other cups of starter.
- If you can’t find anyone who wants the sourdough starter, simply throw those 1-cup bags into the freezer until another time when you’d like to start the sourdough process our bake the bread. When you pull the sourdough out of the freezer, treat it as Day 1. Or just go ahead and use that cup to bake loaves of friendship bread!


No comments:
Post a Comment